My friend has just moved house, so I made this card for her. For the woodgrained background I used the SU stamp and Rose Pink card but with Ranger Picked Raspberry Ink. This is a very large stamp so rather than use a block I prefer to stick the stamp to the craft table then ink up the stamp and put the card face down on top! Rub all over thoroughly! Perfect impression every time doing this....Result! The cute little birdhouse was a freebie from a magazine and the first time I have used it, but I will definitely use it again. I coloured it with Promarkers and then used a pink Promarker to freehand draw the lines around the edge. It had to have a bit of sparkle, so I coloured the little blue birds with my clear Wink of Stella brush. Sorry you can't really see the sparkle in this picture. This is a sweet little 5 x 5 card, very girly and just right for my friend!
Hope you like it and thanks for stopping by!
My Craft Blog
Hi there, my name is Marcia, I am happy to meet you and share my craft makes and ideas with you. I hope you enjoy looking. Please feel free to join my blog and leave me comments, especially if they are helpful ones! I love to learn new craft techniques and am more than happy to share the ones I have found. Thank you for looking.....
Showing posts with label Promarker. Show all posts
Wednesday, 27 August 2014
Wednesday, 9 October 2013
Zentangle Christmas Cards
The start of my zentangle Christmas Cards - I must say I have had so much fun doing these, I just wish my hand was steadier! I used Ali Reeve's masks for the outline onto Centura Pearl card. The background is SU lucky limeade stamped with SU Serene Snowflakes
Again Using Ali Reeve's mask for the outline, this time backed onto SU Cherry Cobbler and stamped with Serene Snowflakes
This one is totally my own design!
I had the idea that I could mass produce cards like this
and that all my cards for posting would be simple to make and cheap to post! I would just draw one image, then photocopy it onto coloured card, bling it up a little, job done - oh how wrong was I !!! The drawn image did not photocopy onto the chosen card - probably because the card is textured and so I had to re-ink the whole lot - boo hoo! Anyway, I am quite pleased with the result.
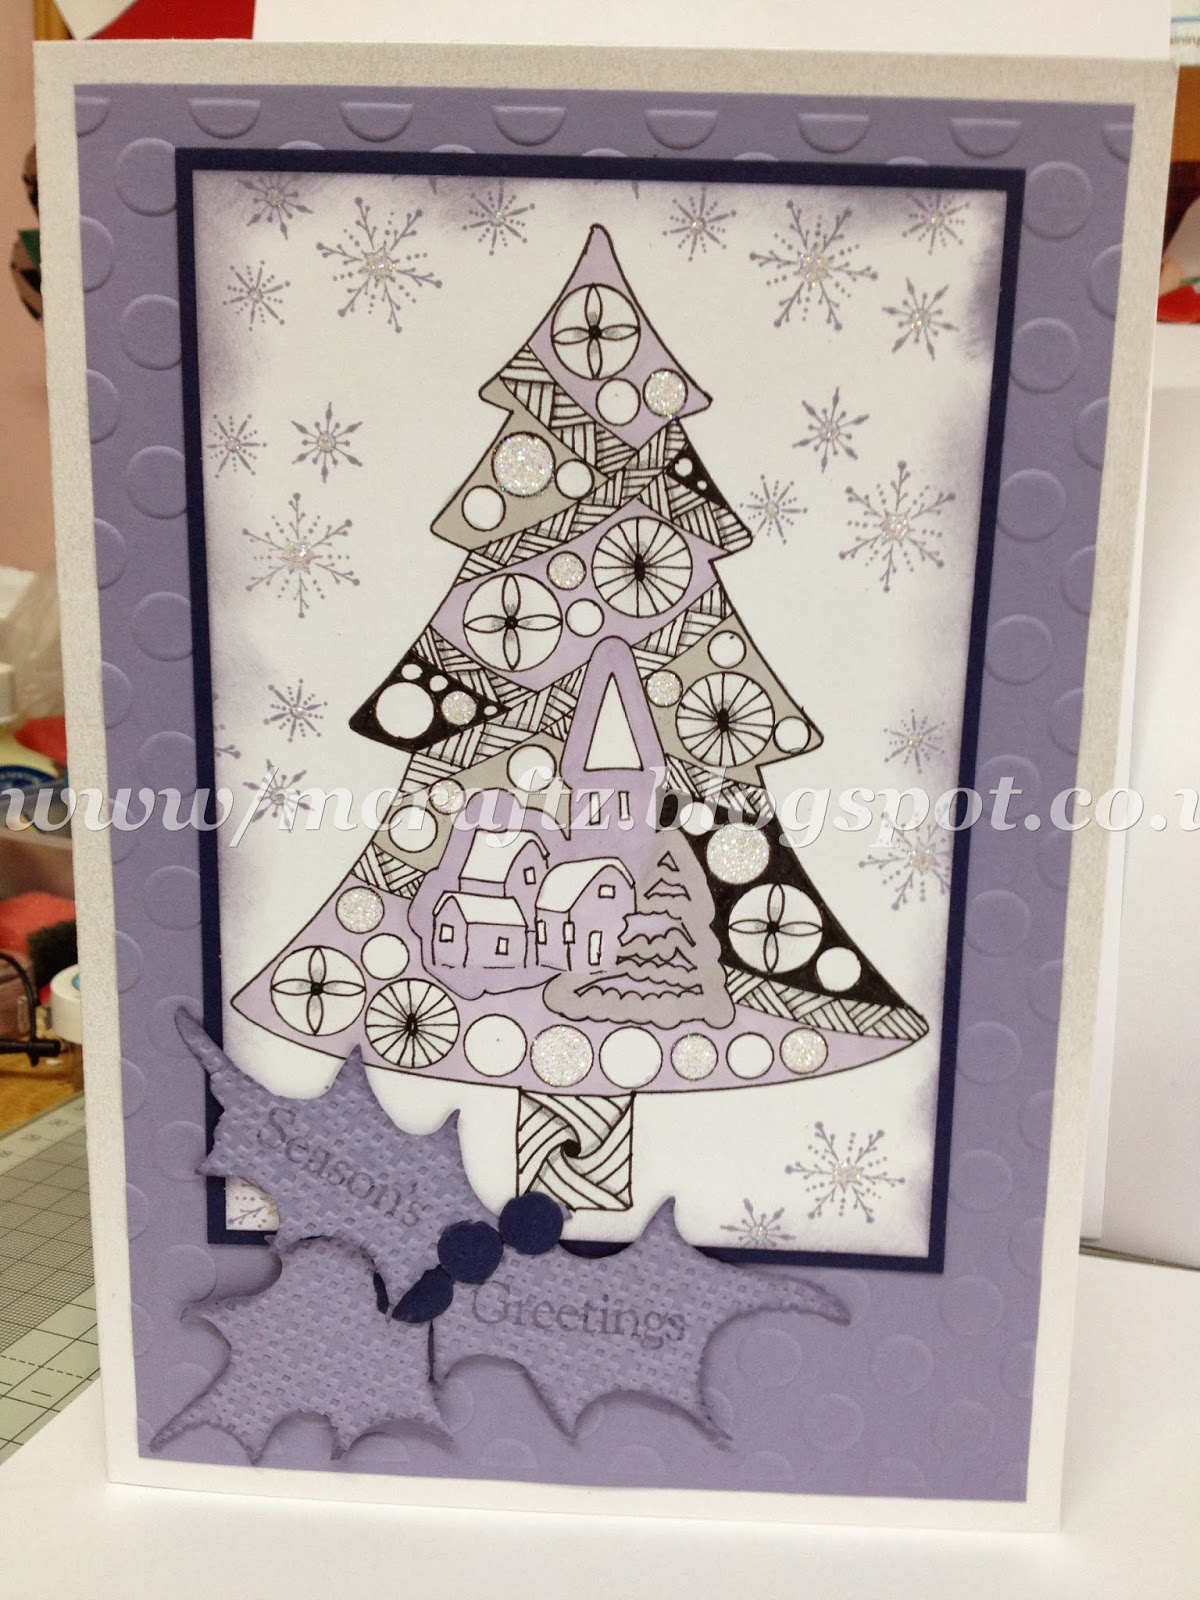
I am very happy with how this one turned out! I used Ali Reeve's mask again, but wanted something nice to put in the middle (less drawing for me!) After various experiments, I settled on this Marianne Design Die, which I drew around for the shape, then just inked in the detail freehand. I used a Promarker to ink in the background of the design. The cardstock is SU Wisteria Wonder, Serene Snowflakes again (well it is Christmas!). I used Tim Holtz holly die which I love and stamped the greeting onto the holly before running through an embossing folder to add a bit of texture.
I hope you enjoy looking at my efforts - if you have any questions please contact me, I will be more than happy to help if I can!
Again Using Ali Reeve's mask for the outline, this time backed onto SU Cherry Cobbler and stamped with Serene Snowflakes
I had the idea that I could mass produce cards like this
and that all my cards for posting would be simple to make and cheap to post! I would just draw one image, then photocopy it onto coloured card, bling it up a little, job done - oh how wrong was I !!! The drawn image did not photocopy onto the chosen card - probably because the card is textured and so I had to re-ink the whole lot - boo hoo! Anyway, I am quite pleased with the result.
I am very happy with how this one turned out! I used Ali Reeve's mask again, but wanted something nice to put in the middle (less drawing for me!) After various experiments, I settled on this Marianne Design Die, which I drew around for the shape, then just inked in the detail freehand. I used a Promarker to ink in the background of the design. The cardstock is SU Wisteria Wonder, Serene Snowflakes again (well it is Christmas!). I used Tim Holtz holly die which I love and stamped the greeting onto the holly before running through an embossing folder to add a bit of texture.
I hope you enjoy looking at my efforts - if you have any questions please contact me, I will be more than happy to help if I can!
Subscribe to:
Posts (Atom)